In this blog I will show you how to stick wallpaper to wood furniture! But First a little backstory...
Ever had one of those days where you just want to do something crafty and creative? Of course, you have, well this happened to me last week and I did a little bit of googling and found a brilliant piece of inspiration! Wallpaper on wooden furniture. Now before you run off let me explain. Adding wallpaper onto old furniture can truly overhaul the look and appearance of any room! But this brings up the question, ''How to stick wallpaper to wood?''
So let's get to it!
Table of Contents
Scissors Or Utility Knife
Dust/Protective Sheets
Tape Measure
Wallpaper (Preferably Non-Woven Wallpaper)
Straight away you'll know what piece of wooden furniture you want refresh with some wallpaper but hit the brakes. Ask yourself. Does it match the colour scheme of the room? Does the pattern match? And finally, do I wallpaper all of it? or just some of it? Take your time and do some tests to make sure you are happy, by simply taping a sample of wallpaper onto the furniture.
Preparing your workspace is essential, especially when you're wallpaper is on the delicate side. Lay down a dust sheet, spread your protective sheets and have some water handy to clean up any spills or drips. Then place the pieces of the furniture you want to wallpaper on the sheet.
Remove any handles and knobs from the furniture.
Now that it looks nice and clean, let's get going!

Take your sandpaper and use it to roughen up the surface of the furniture. Doing this will make sure that the glue will stick properly to the wood. Once you are done. Clean the area of any remaining dust with a damp cloth and also make sure it is completely dry.
If you are planning to wallpaper a particularly large piece of furniture for example a wardrobe. We advise that you wallpaper the inside as well, this will stop the wood warping.

Use a pencil to mark out how much wallpaper you will need for each piece of furniture, which you can measure with your tape measure. Make sure that you do this as accurate as possible as cutting away any overlap is extremely difficult and will require a very steady hand.
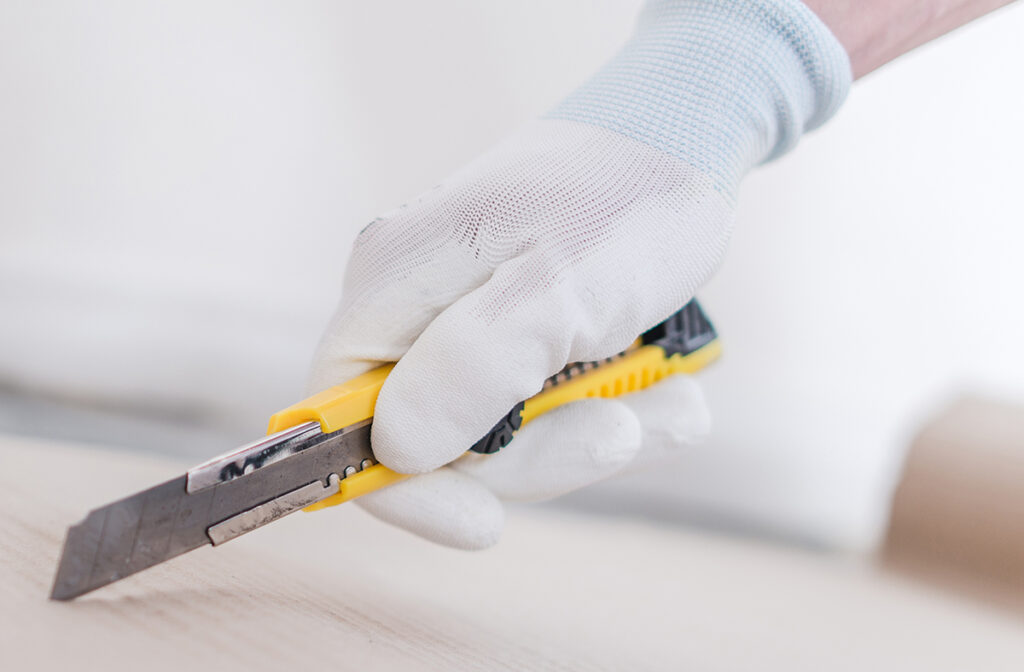
Once you are happy with the measurements cut it out using scissors.
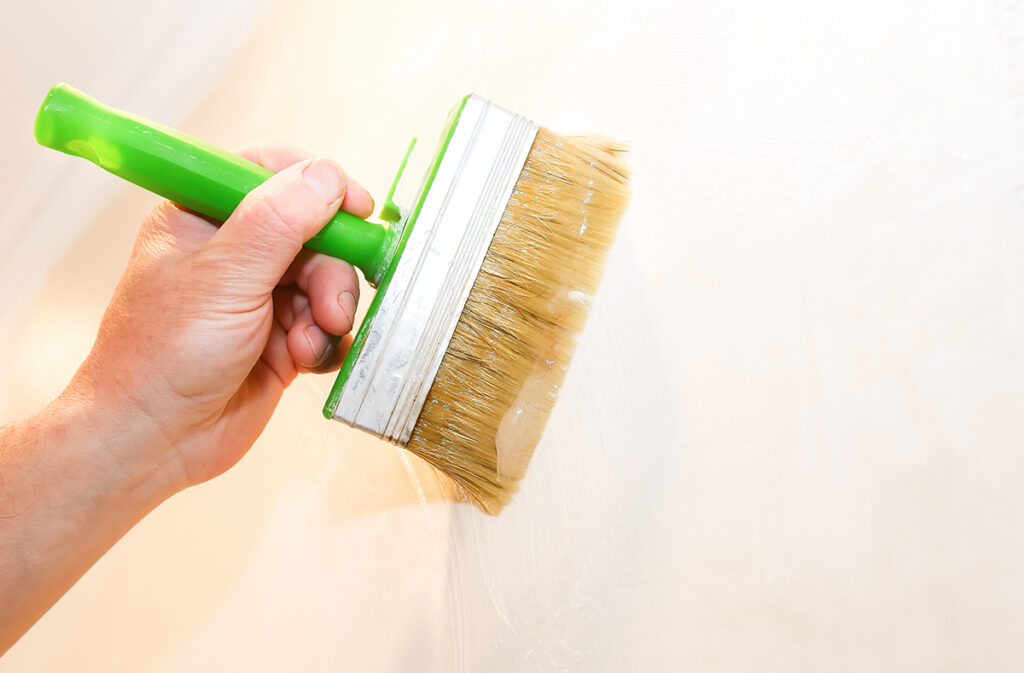
Mix the appropriate amount of paste for the wallpaper (check the packaging to see how much is needed). Apply the paste directly onto the surface and spread it evenly with a pasting brush. If the wallpaper is paper-based apply the paste to the wallpaper, and leave it to soak in (see packaging for more information).

Place your wallpaper with the paste side up against your furniture and smooth it out from the centre, working out any bubbles or creases this will help to avoid it bubbling once dry.
Once you have smoothed it down firmly give it a gentle rub with your hand to make sure it is stuck well. Pay attention to the edges and sides to make sure the paper has adhered properly.
Wait for the paste to dry. This could take anywhere between 30 minutes and an hour depending on how much you've used, what type of wallpaper you are using and how big the surface is. Check the wallpaper packaging for more information.
Repeat the previous steps until you are done! Then step back and admire your upcycled, refreshed piece of furniture!
If your furniture has glass panes simply use double-sided adhesive tape as wallpaper paste won't do the job. Work slowly and accurately as it is easy to mess up.
Congratulations! You have successfully transformed your piece of old furniture into something spectacular! Let us know how it went in the comments section below, and tell us how much you love this tutorial!
While you are here why not expand your knowledge on other DIY upcycling projects such as Painting a Deck: The Ultimate Guide and DIY Floating Kitchen Shelves: The Ultimate Guide.